
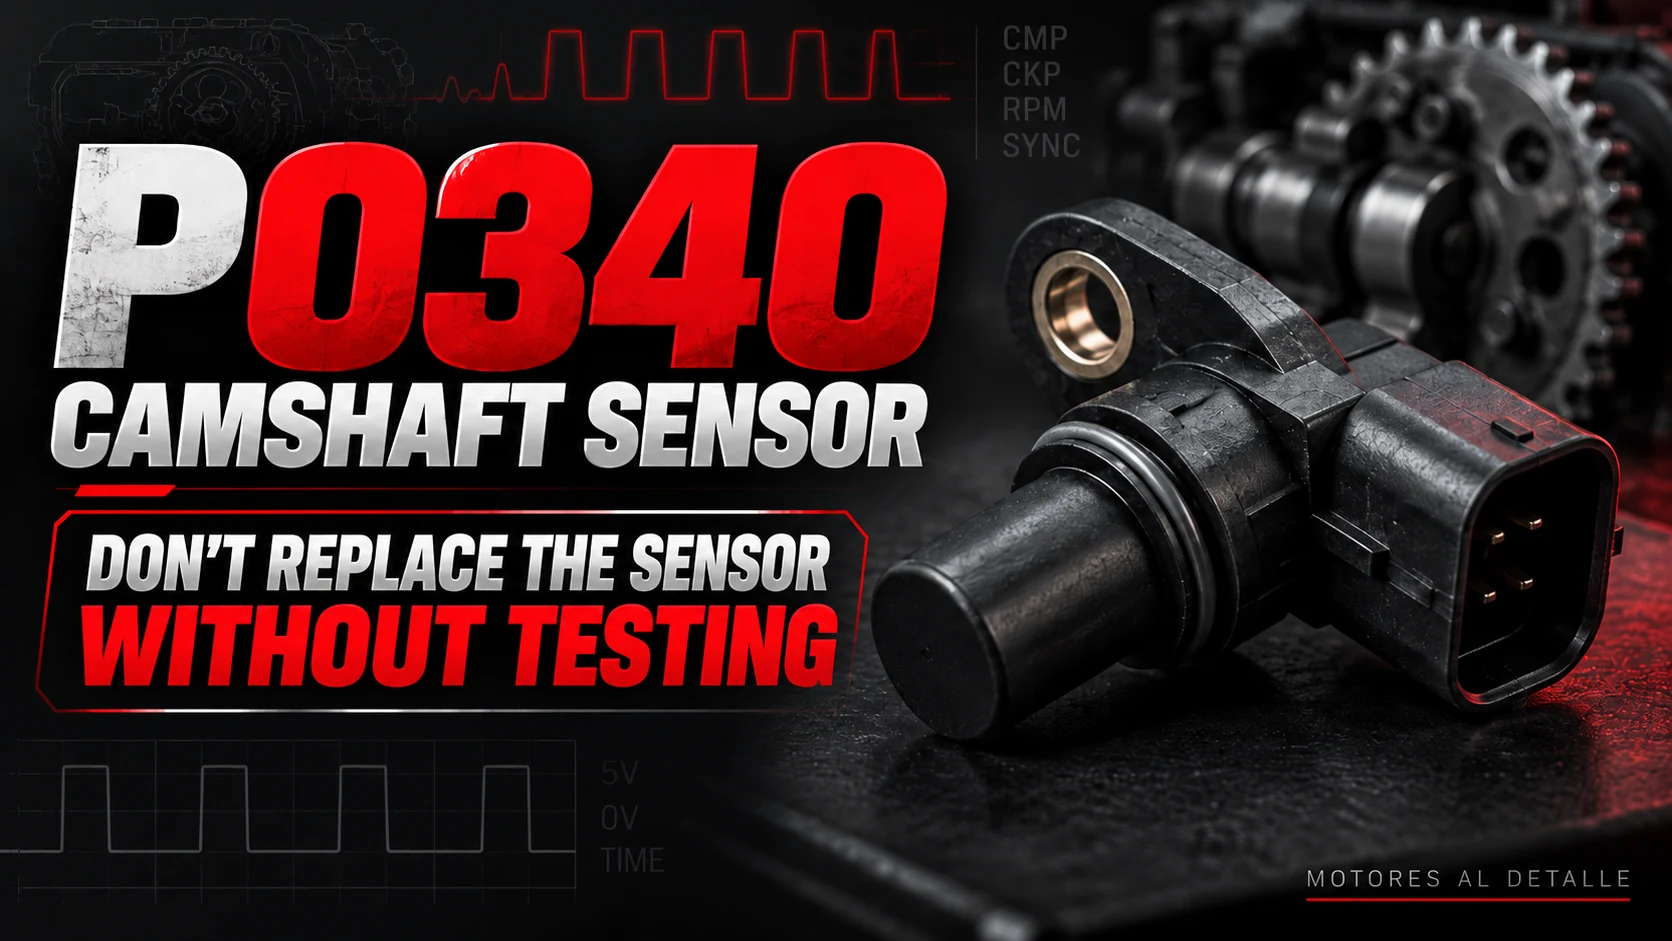
You connect the scan tool, code P0340 appears, and the description mentions the camshaft position sensor. Your first reaction might be to buy a new one, but stop for a moment: the code points to a problem in its circuit; it does not, by itself, confirm that the sensor has failed. The fault may also be in the wiring or a connection. (obdeleven.com)
The distinction matters. Replacing the sensor may fix an internal fault in that part, but it will not repair a broken wire or a terminal with a poor connection. The goal of diagnosis is therefore to find out what information is missing and why, before replacing components. (hella.com)
What code P0340 means
P0340 indicates a camshaft position sensor circuit malfunction. This sensor is also known as the phase sensor or CMP sensor. The engine control unit needs that information to manage engine operation correctly. (obdeleven.com)
The camshaft and crankshaft sensors work together, but they are not the same part. The crankshaft sensor provides information about crankshaft position and rotational speed; the camshaft sensor identifies the engine's phase. The control unit uses both references to coordinate functions such as fuel injection and, where applicable, ignition. (denso-am.eu)
A scan tool mentioning the camshaft does not mean the camshaft is broken or the timing system needs to be replaced. Check the circuit and signal first; mechanical checks depend on the results and the manufacturer's procedure. (hella.com)
What symptoms it can cause
A problem with the camshaft signal can show up in several ways:
- The engine takes a long time to start, or the starter cranks the engine but it will not start.
- The check engine light comes on.
- The engine hesitates, runs unevenly, or loses performance.
- The engine stalls or enters a limited operating mode. (picoauto.com)
Not all of these symptoms need to occur. With some faults, the warning light may come on without the driver noticing an obvious change; with others, the main problem is difficulty starting. The behavior depends on the engine and the specific fault. (static.nhtsa.gov)
Can you drive with P0340?
There is no safe answer based on the code number alone. A signal fault can cause stalling or starting problems, so it should not be ignored even if the car still runs. (picoauto.com)
As a safety precaution, if the engine stalls, jerks severely, or loses a significant amount of power, stop somewhere safe and request assistance. Do not try to reproduce those conditions in traffic.
If only the warning light is on and the car seems to run normally, arrange an inspection as soon as possible. Starting today does not prove the fault has disappeared.
Possible causes: it is not always the sensor
Problems that can affect the signal include internal sensor faults, open circuits, short circuits, and abnormally high resistance in the power supply, ground, or signal circuits. Incorrect installation, an unsuitable gap to the part being detected, or damage to that part can also affect it. (picoauto.com)
It helps to distinguish three areas to check:
| Area | What to check |
|---|---|
| Sensor and immediate connection | Damage, a connector that is not seated properly, deteriorated terminals, and installation. |
| Electrical wiring | Wiring continuity, power supply where applicable, ground, and the signal path to the control unit. |
| Mechanical reference | The condition and position of the wheel detected by the sensor, and the relationship between the camshaft and crankshaft signals. |
These checks help separate an electrical fault from an installation or synchronization problem. They should not become a list of parts to replace one after another. (hella.com)
How to diagnose P0340 without replacing parts blindly
1. Read all codes and note when the problem occurs
Start by saving the diagnostic report before clearing anything. Note whether the fault appears during starting, with the engine hot, while driving, or after a repair. Also save freeze-frame data—the conditions recorded when the fault was detected—if the vehicle and tool provide it.
Do not focus only on P0340. Accompanying codes and symptoms help determine the next step. In one case documented by Pico Technology, for example, P0340 and P0335 were present even though both signals existed: interference and previous wiring modifications completely changed the diagnosis. That outcome applies to that vehicle; it is not a universal solution for those codes. (picoauto.com)
2. Identify the correct sensor and consult the wiring diagram
Before measuring, you need to know which sensor the fault refers to, how it is connected, and what values the manufacturer specifies.
There is no universal pinout for P0340. Nor should you assume that every sensor is tested in the same way: inductive and electronic designs have different characteristics. Identifying the engine and consulting the wiring diagram and replacement-part information are the starting points. (denso-am.eu)
That is why an instruction such as “measure the middle pin and you should see five volts” is not general guidance for every car.
3. Inspect connectors and wiring
With the engine off and following the manufacturer's disconnection precautions, inspect the connector, terminals, and accessible wiring harness. Look for damage, chafing, corrosion, incomplete connections, or previous repairs.
Do not overlook the control-unit end of the wiring when the diagnosis calls for checking it. General Motors documented faults on certain Cadillac ATS and CTS vehicles that could include P0340 associated with corrosion or liquid contamination in control-unit connectors. That does not mean every P0340 has that cause, but it shows why looking only at the sensor can miss the actual problem. (static.nhtsa.gov)
4. Check the circuit using the appropriate procedure
The next stage is to check the sensor's lines: power supply when required, ground, and signal. Continuity and short-circuit tests must be performed with the circuit prepared and disconnected according to the manufacturer's instructions, not by applying a multimeter indiscriminately. (hella.com)
Do not measure the internal resistance of an unidentified sensor to decide whether it is working. HELLA warns that an ohmmeter test can damage certain Hall-effect sensors. Identify the technology before measuring and use the appropriate test. (hella.com)
If you do not have a wiring diagram, suitable equipment, or experience with these measurements, it is better to have this stage of the diagnosis carried out by someone qualified than to cause a second fault.
5. Check the signal while the engine turns
Finding voltage at a connector does not, by itself, prove that the sensor is sending a correct signal.
An oscilloscope lets you observe how that signal changes during cranking or engine operation. With a Hall-effect sensor, you analyze a switched signal; with an inductive sensor, the shape and amplitude differ and depend on rotational conditions. Compare the results against information that is valid for that engine. (picoauto.com)
This test helps distinguish an absent signal, an irregular signal, and a signal that exists but does not correctly reach the point where the control unit should receive it. DENSO specifically includes checking the waveform during cranking in its diagnostic procedure. (denso-am.eu)
6. Check installation and synchronization when the tests point that way
If the circuit does not explain the fault, it may be necessary to check the relationship between the crankshaft and camshaft signals, as well as the position of their reference elements.
Incorrect valve timing, a shifted reference wheel, or certain variable valve timing problems can alter that relationship. They cannot be diagnosed just by reading P0340: they require the checks specified for that engine. (picoauto.com)
Installation details can also be vehicle-specific. Subaru published a bulletin for certain FA and FB engines in which incorrect sensor clearance could cause camshaft-related codes, including P0340. The procedure required checking signals and following specific instructions. It is not an invitation to add washers or modify sensors on other vehicles. (static.nhtsa.gov)
I replaced the sensor and P0340 still appears
In that situation, do not immediately buy another sensor. The question is: what test proves that the old part was the cause?
Check that the replacement part matches the engine, is installed correctly, and produces the expected signal. A new sensor does not fix a circuit problem or correct an improper mounting position. Damage, dirt in the sensing area, and an unsuitable gap can also affect the reading. (picoauto.com)
If the signals are present, investigate their quality and the circumstances of the fault rather than continuing to replace components by elimination. The Pico case mentioned earlier is a good example of why “sensor code” and “failed sensor” are not the same thing. (picoauto.com)
Could the solution involve the control unit?
There can be problems with its connections or the unit itself, but starting by replacing it without checking the rest would not be reasonable.
The General Motors bulletin explicitly distinguishes between damage to wiring terminals, connector contamination, and damage affecting the control unit. Each situation requires a different response. Finding several codes does not, by itself, prove that the electronic unit is faulty either. (static.nhtsa.gov)
The decision should be based on measurements and the vehicle's diagnostic procedure, not on the fact that other parts have already been replaced without success.
How to check that the repair has worked
The final check is not simply clearing the code and seeing the warning light go out.
After correcting the cause, recheck operation and see whether the fault returns under the test conditions specified for that vehicle. When diagnosis has involved measuring signals, it is also worth verifying that they are now correct. Functional tests must only be performed when the car's condition allows them to be carried out safely. (obdeleven.com)
My recommendation is to keep the measurements taken before and after. That lets you distinguish a verified repair from a fault that simply has not appeared for a few minutes.
What matters before buying parts
P0340 guides the diagnosis toward the camshaft position signal and its circuit. The part mentioned in the description is not necessarily the part that needs replacing. (obdeleven.com)
The approach we follow at Motores al Detalle is simple: understand the symptom, check what is happening, and repair what the tests point to. Do not turn reading a code into an automatic purchase of replacement parts.