
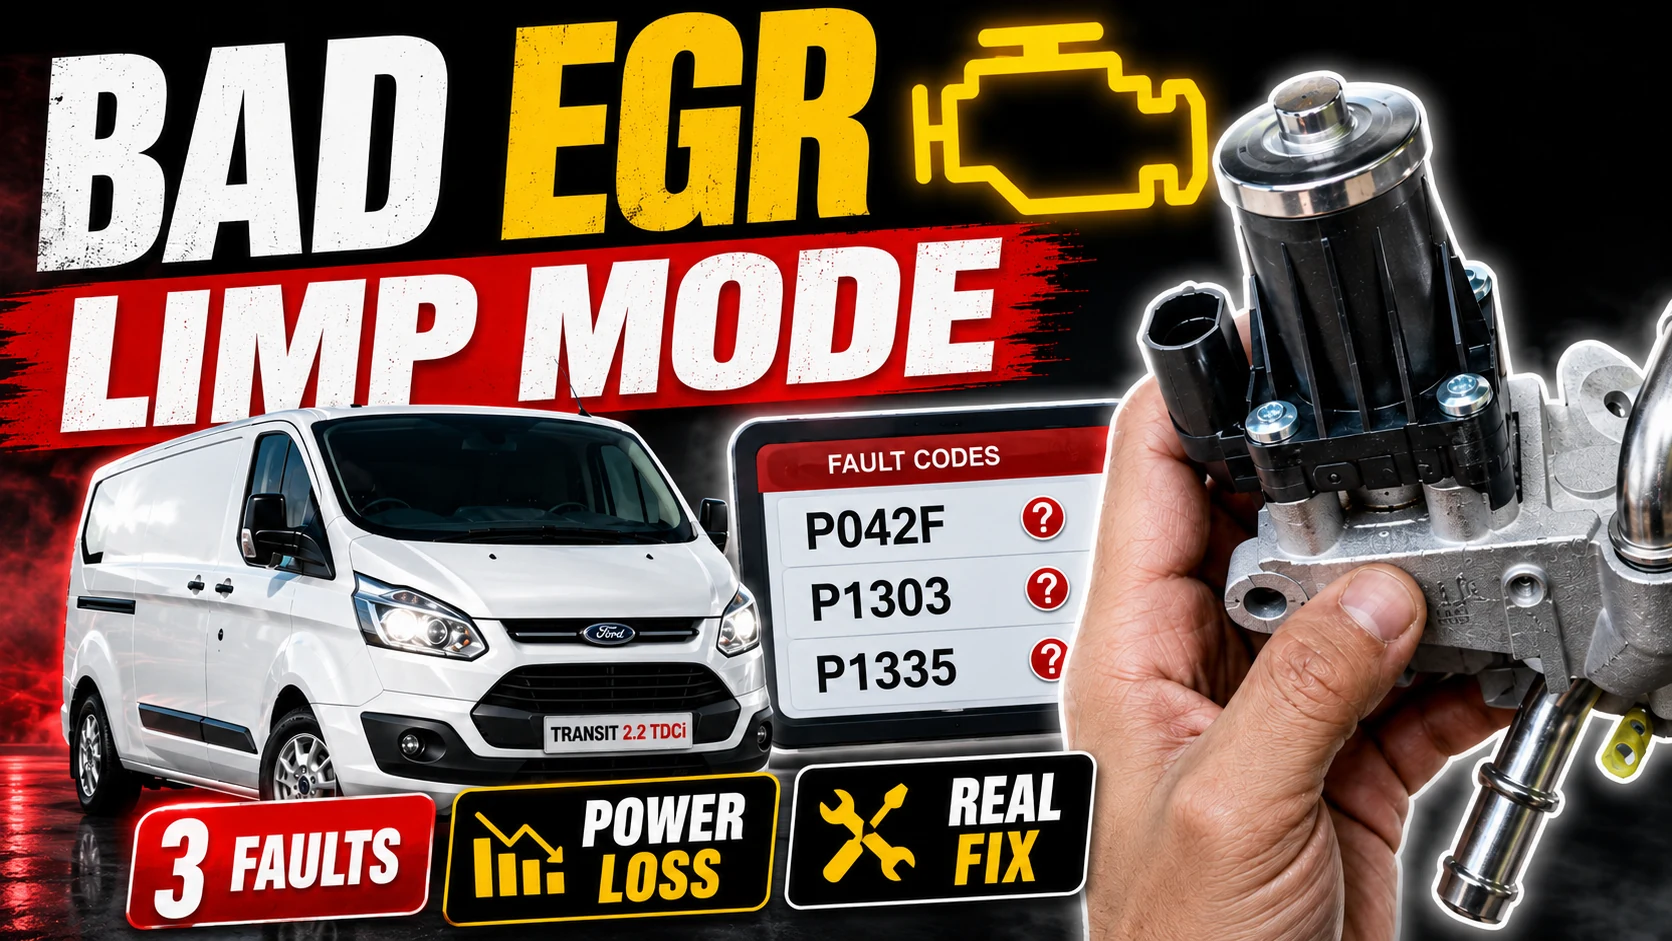
A Transit with almost no power
- P042F
- P1303
- P1335
The van's problem was not just a slight hesitation.
When it entered limp mode, the loss of power was very obvious and it was limited to approximately 50 km/h.
The engine kept running, but the electronic management system was severely restricting its performance.
This is commonly known as limp mode, emergency mode or reduced-power mode.
When the control unit detects a fault it considers sufficiently important, it may limit certain operating parameters in an attempt to protect the engine, emissions system or a related component.
For the driver, the result is usually obvious: you press the accelerator, but the vehicle does not respond as it should.
That was exactly what was happening with this Transit.
First step: connect the diagnostic tool
Before taking anything apart, I connected the diagnostic tool.
The codes that appeared were:
P042F, P1303 and P1335.
Reading the three faults together was particularly interesting because we did not have a single isolated code that might have been a secondary consequence of another fault.
Several records concerned the same system.
In this reading, the codes pointed to EGR control, position and operation.
P042F related to a situation in which the EGR was not reaching the expected position and remained closed.
P1303 and P1335 also related to EGR operation and calibration or position within this engine's management strategy.
We will have separate guides for each of these codes, because it is worth explaining what each DTC means and what can be checked before condemning a part.
For this repair, however, the important thing was to look at the whole picture:
a Transit with no power + limp mode + three EGR-related codes.
Everything pointed in the same direction.
What does the EGR actually do?
The EGR is part of the engine's emissions-control system.
The initials stand for Exhaust Gas Recirculation.
Under certain conditions, the valve allows some exhaust gas to return to the intake.
The control unit decides when it should open, how far it should open and when it should close again.
On modern systems, it is not simply a valve that is either open or closed.
The control unit also needs to know the EGR's actual position and check that it reasonably matches the position it requested.
If the control unit commands the valve to open but it does not move, sticks, responds incorrectly or the system does not detect the expected position, fault codes start appearing.
Depending on how serious the problem is, the engine may eventually enter limp mode.
Why can an EGR fault cause such a large loss of power?
It can be surprising that a component mainly associated with emissions can leave a van with almost no performance.
But remember that the EGR is part of the engine-control strategy.
If the control unit detects that the system is not responding as expected, it may restrict operation rather than continue under conditions it considers incorrect.
This does not necessarily mean the EGR is physically destroyed.
Several different problems can produce faults related to it:
- the valve itself may be stuck;
- the actuator may have an internal fault;
- the position sensor may be reporting incorrectly;
- carbon deposits may be restricting movement;
- a connector may have a problem;
- a wire may be damaged;
- power supply or ground may be missing;
- or another system problem may prevent the actual position from matching the requested position.
So, as a general rule, seeing “EGR” on a diagnostic tool does not automatically make the EGR valve guilty.
Why did I go straight to replacement on this Transit?
Because diagnosis also means bringing information together and applying previous experience.
On this Transit, we had:
- a very substantial loss of power;
- clear entry into limp mode;
- three codes concerning the same system;
- and behavior consistent with a fault I had seen before.
With that information, I decided to replace the EGR valve directly.
That does not turn my decision into a universal recipe.
It simply explains how this real case was approached.
What really matters is that, after the repair, we carried out the test that could confirm whether the decision had been correct.
But first I had to get the EGR out, and that was where the interesting part of the job started.
Starting the removal
The EGR on this Ford Transit is part of a coolant-cooled system.
That means it is not just an electrical valve connected to a gas pipe.
Cooling-system hoses are also connected to the assembly.
To begin removing it, I therefore had to disconnect the coolant hoses leading to the EGR.
I also started disconnecting the exhaust-gas recirculation connections.
Up to that point, the job was going more or less as expected.
The problem came when I tried to remove the valve.
The lower pipe was awkwardly positioned
One of the connections at the bottom of the EGR was in a difficult spot.
The problem was not necessarily the pipe itself.
The problem was the lack of room to get my hands in and work comfortably.
I could reach the area, but properly handling the connection and getting the EGR out was another matter.
This kind of situation is very common in repair work.
On paper, a job can look relatively simple:
remove the bolts, disconnect the pipes and take the part out.
But when you are standing in front of the vehicle, you discover a large component right in the way, preventing you from moving your hands as needed.
At that point, there are usually two options.
Spend half an hour trying to force the part out, working awkwardly and increasing the risk of breaking something...
or spend a few minutes removing what is actually in the way.
In this case, I chose the second option.
Removing the cooling fan was the key
The electric cooling fan occupied much of the space I needed to handle the EGR properly.
Fortunately, removing it on this Transit is not particularly complicated.
The assembly uses four locating and retaining points.
Two of them are tabs that actually lock the cooling fan in place.
The other two mainly act as guides along which the assembly slides.
Once the two retaining tabs are released, the cooling fan can slide upward and be removed.
As soon as I took it out, the job changed completely.
Suddenly, I had the room I had been missing.
Now I could reach the lower pipe properly, handle the connections and move the EGR without working almost blind.
This is one of those small details that rarely appears when you simply read an “EGR replacement time.”
Sometimes removing one additional component looks like extra work, but actually saves a lot of time.
Removing the old EGR
With the cooling fan out, I could finish freeing the assembly.
I disconnected what was left, removed the bolts and finally took the old EGR out.
At that point, I could prepare the new valve for installation.
There was no need to invent further disassembly or complicate the repair.
The main obstacle had simply been obtaining enough space.
Installing the new EGR
The new EGR was installed by essentially reversing the removal procedure.
I positioned it correctly and reinstalled the bolts and connections I had removed.
I reconnected:
- the exhaust-gas recirculation pipes;
- the coolant hoses;
- and the other components associated with the assembly.
It is worth taking a moment here before continuing with reassembly.
When you have just installed a part in an area that will soon become difficult to reach again, it makes sense to check visually that:
- the connections are seated;
- the bolts are fitted;
- no hose has been positioned incorrectly;
- no connector has been left loose;
- and nothing is interfering where it should not be.
It is much better to discover something missing now than after reassembling everything at the front.
Reinstalling the cooling fan
Once the EGR area was finished, I lowered the cooling fan back into place from above.
The guides help bring it into position.
The tabs that secure the assembly are then locked again.
That allowed me to restore almost the entire original engine-bay arrangement.
I also refitted the air-filter assembly and the parts I had removed to gain access.
Do not forget the cooling system
There is another important detail in this repair.
Because the EGR is cooled and we disconnected coolant hoses, the cooling circuit has been opened.
Once reassembly is complete, the coolant level therefore needs checking and the circuit must be restored correctly.
Depending on how much coolant was lost and the vehicle's procedure, topping up and the appropriate bleeding process may be necessary.
There would be no sense in repairing the EGR and then causing a cooling problem by overlooking something so basic.
Was the repair finished?
Not yet.
For me, this is one of the most important parts of the whole job.
I could have started the Transit while stationary, checked that the engine ran and called the repair finished.
But that would have proved very little.
The original problem was not:
“the engine will not start.”
The fault was:
the van enters limp mode while driving and can barely exceed 50 km/h.
So the repair had to be tested on the road.
The final test
After finishing all the reassembly, I took the Transit out for a test.
The difference was clear.
The van recovered its normal performance and did not enter limp mode during the test.
The restriction that had previously prevented it from exceeding roughly 50 km/h was no longer there.
That was exactly what I needed to check.
Now we had a genuine before and after.
Before the repair
- Limp mode.
- Severe loss of power.
- A top speed of approximately 50 km/h.
- P042F.
- P1303.
- P1335.
After replacing the EGR
- Normal operation during the test.
- Power restored.
- No return to limp mode during the drive.
At that point, the fault could be considered repaired.
What if it had still failed after replacing the EGR?
That is an interesting question too.
If its behavior had been exactly the same after replacing the valve, continuing to replace parts at random would have made no sense.
The diagnosis would have needed to continue.
Depending on what the diagnostic tool showed, that could have involved examining:
- requested EGR position;
- actual position;
- power supply;
- ground;
- wiring;
- connectors;
- mechanism actuation;
- and any other related fault recorded by the control unit.
That is why testing after a repair is so important.
Without it, replacing a part only proves that a new part has been installed.
It does not prove the fault has been fixed.
What this case teaches us
This Transit is a good example of how fault codes should be used.
The codes are not there to say:
buy this part.
They are there to say:
the control unit is seeing a problem in this area or in this operation.
In our case, there were three related codes, a very clear symptom and previous experience with the fault.
Together, those factors supported directing the repair toward the EGR.
The final test confirmed that the decision had been correct.
But on another vehicle with an isolated P042F and different symptoms, the procedure could be different.
That is where dedicated DTC guides come in.
P042F, P1303 and P1335: three codes that will be linked to this real case
These codes will have their own technical pages on Motores al Detalle.
The idea is that someone might arrive after searching, for example, for:
P042F Ford Transit
and first learn what the code means, what can cause it and how it should be diagnosed.
From that guide, they will be able to reach this real case:
a Ford Transit 2.2 TDCi with P042F, P1303 and P1335 that entered limp mode and was ultimately repaired by replacing the EGR.
The links will also work in the opposite direction.
From this repair, readers will be able to visit:
- P042F
- P1303
- P1335
to explore the technical information for each code.
This keeps two types of content clearly separate:
DTC guide: what a code means and how to diagnose it.
Real repair: what actually happened to a vehicle and how it was fixed.
Final result
On this Ford Transit 2.2 TDCi, replacing the EGR valve fixed the fault that was causing the loss of power and limp mode.
The job ultimately included:
- initial electronic diagnosis;
- reading P042F, P1303 and P1335;
- disconnecting the connections and coolant hoses;
- removing the cooling fan to gain space;
- removing the old EGR;
- installing the new valve;
- restoring the cooling circuit;
- refitting the cooling fan and air-filter assembly;
- and a final road test.
The Transit recovered its normal performance and did not enter limp mode during the test.
That was what ultimately confirmed the repair.
Part replaced
EGR valve
Codes recorded
P042F
P1303
P1335
Vehicle
Ford Transit
2.2 TDCi / Duratorq engine
Watch the repair
In the Motores al Detalle video, you can see the work on this Transit and the EGR valve replacement process.
Full video:
https://www.youtube.com/watch?v=AO8214Uxq18
Short:
https://www.youtube.com/shorts/RhfuDnfHZrc